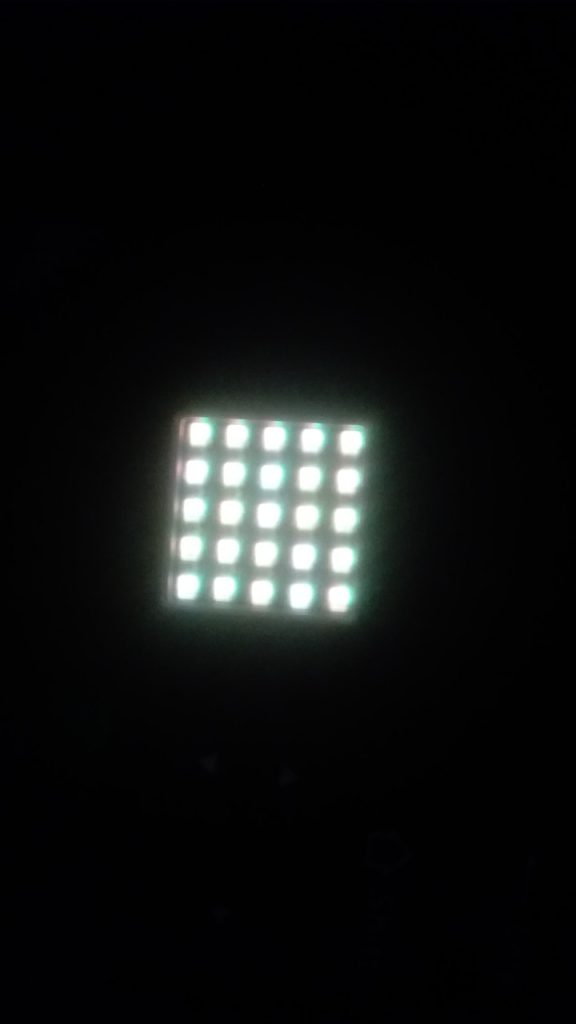
Small cube anyclue on how it works🔥💁🏽♂️

- Small cube in my equipment
The Cube that we know and love actually has a younger brother – the mini Cube! In the world of products and electronics, bigger is…
Your Cube is a great-looking, compact little device that’s packed with bunches of features. In this project we’re going to turn that little box of…
It took 13 years and $5 billion to map the human genome in a multi-country effort that remains ‘the world’s largest collaborative biological project’ (wikipedia).…
The Australian Broadcasting Corporation is reporting on a 1,900 hectare farm that will be fully automated at a cost of $20 million AUD in a…
enviromental issues that many students are facing not having enough space to do their school work…not healthy for students there is no social distance…lives of…
You must be logged in to post a comment.
There was a problem reporting this post.
Please confirm you want to block this member.
You will no longer be able to:
Please note: This action will also remove this member from your connections and send a report to the site admin. Please allow a few minutes for this process to complete.
Ha! Yeah, you got a bit of a hand-wave explanation this weekend in our COVID-friendly-under-the-trees-event 😄. I will shortly be uploading instructions on how to use it. But for now:
Firstly: the mini Cube (technically its an M5 ATOM MATRIX device) has a slightly different USB chip inside it, so you need additional drivers for Windows to give this mini Cube a COM port. You can download and install the 32bit version that the 2-in-1 tablets typically use from https://www.ftdichip.com/Drivers/CDM/CDM%20v2.12.36.4%20WHQL%20Certified.zip. Anyone else reading this in the future that doesn’t have a 2-in-1 tablet or doesn’t know what I’m talking about, you probably want the normal 64 bit version of the driver from https://www.ftdichip.com/Drivers/CDM/CDM%20v2.12.36.4%20WHQL%20Certified.zip
Then: to enter programming mode …
Unlike the normal Cube that has a touchscreen and shows you the screen where you can tap Flow then USB to enter programming mode, the mini-Cube only has its LED matrix and a single button to interact with. So:
Starting with the mini Cube unplugged from your computer, push down the screen of the mini Cube to make it click; and without letting it go (un-clicking it? 🤔) insert the USB cable into the mini Cube (the other end of the USB must be plugged into your PC). You will see the LEDs of the mini-Cube start cycling through colours – release the button when the LEDs show blue. That puts the Cube into programming mode.
You should now be able to program that bad boy in UIFlow as normal – just be sure to select the right COM port and most importantly select this new type of Cube so that UIFlow can program it correctly – its the first device in the second row with the grid-like display.
Let me know how it works out for you! Even better, be the first to post a project with it! You will see some cute blocks under the UI menu to make different patterns appear on the Cube’s LED grid.
In future I will also write up some projects where the mini-Cube can talk to the big Cube (imagine, for example the mini-Cube connected to a servo motor and mounted on your room’s light-switch so that you can remotely turn the lights on and off 😊)
Instructions have gone up at https://edu.quantumcrayon.co.za/posts/mini-cube-atom-matrix/ 👍
Did u program it ?
cool